
Share Text Between Screens
In this tutorial, you will learn how to share information between screens by using Variables. We will show you how to build a sign-up form that links to a welcome screen where the email address used to create the account is displayed.
→ Download a ready .uxp file for this tutorial.
Setting up the Design
- In a new Prototype, add another Page with an
Alt
"N"
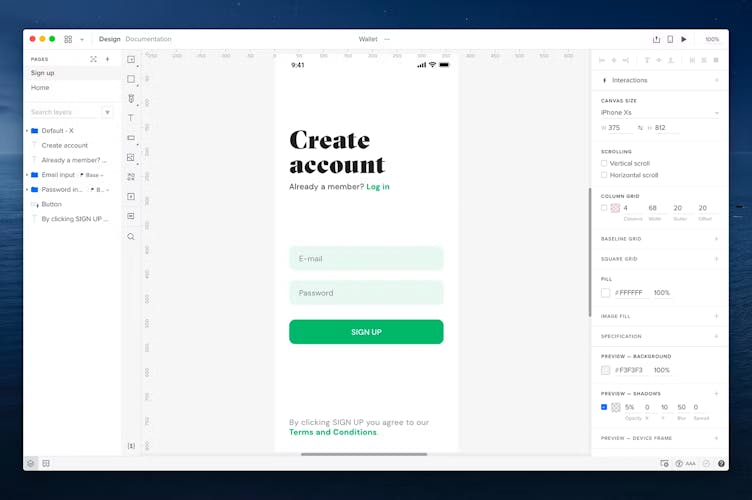
shortcut. The first page (Page 1) will be the Sign-up form and the second page (Page 2) will be the Welcome screen. - On the Sign-up screen, add an Input and a Button from the Forms menu from the left-hand Toolbar. You can add a placeholder text to the Input at the bottom of the Properties panel.
- Go to the Variables menu at the bottom of the Toolbar and create a new variable by clicking on the + icon. Name it Email.
- Press Enter to save it.
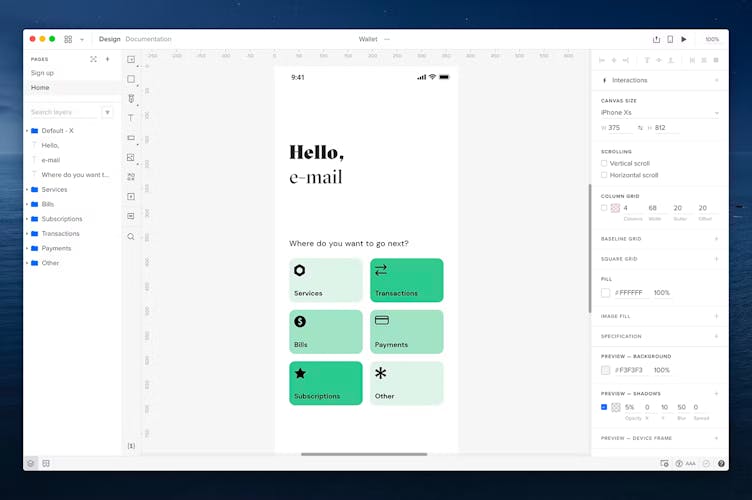
5. Go to the welcome screen (Page 2) and add a text element from the Toolbar or by using the
"T"
shortcut. Name it email – this text element will later display the email you enter on the sign-up screen. You can design the rest of the welcome screen as you wish.
Adding Interactions
Create an interaction that sets the email address entered into the input as the value of the variable.
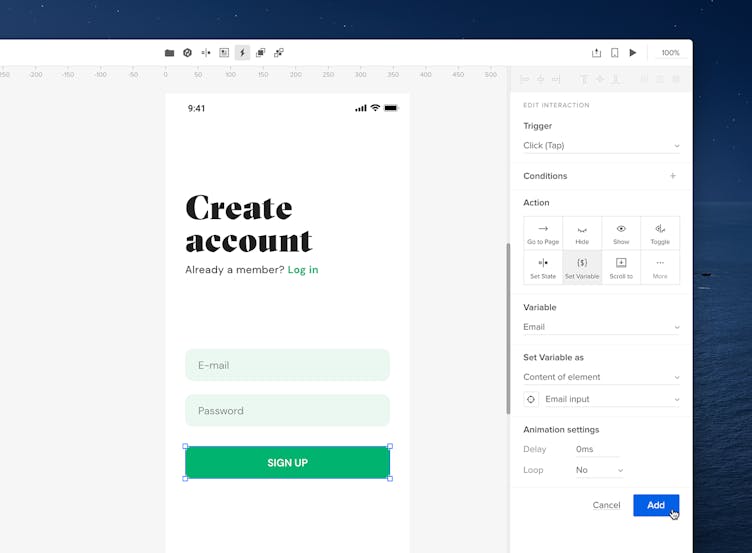
- On the sign-up screen, select the Button and add an Interaction by clicking the + icon at the top of the Properties Panel.
- Leave the Trigger as On Click (Tap).
- In the Action section choose Set Variable.
- As the Variable, choose the Email variable.
- In Set Variable, leave the first dropdown set to Content of element, and in the second one select the Input element.
- Click Add.
Add another interaction that will take you to the next page when you click the button.
- Select the Button and add an Interaction from the Properties Panel.
- The Trigger should be set to On Click (Tap).
- In the Action section choose Go to Page.
- As the Page below, choose the welcome screen.
- Click Add.
Go to the next page, the welcome screen to create an interaction that will display the email from the input field on the previous page.
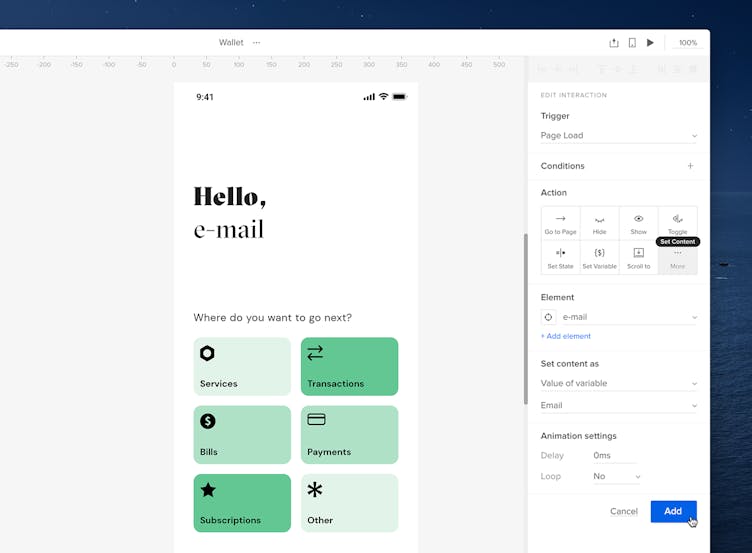
- Without selecting any element, click the + icon at the top of the Properties Panel.
- As the Trigger, choose Page Load.
- In the Action section, click More and choose Set Content.
- Under Element, select your email text element.
- In the Set content as the first dropdown should be set to Value of variable. In the second dropdown select the Email variable.
- Click Add to save the Interaction.
- Preview your design.